Are you ready to bring some bee-themed charm into your home? This “Bee-themed Pringles Can” craft project is the perfect way to do just that!
With just a few materials, including a Pringles can, tissue paper, and acrylic paint, you can transform an ordinary can into a cute and functional storage container. It’s sure to be a buzz-worthy addition to your home décor.
Instead of throwing it away, you can give it a new life as a charming storage container. Plus, the tissue paper and finishing spray give the can a smooth and polished finish, making it look brand new.
Materials:
- Pringles can
- Tissue paper
- Light yellow acrylic paint
- Finishing spray
- Orange acrylic paint
- Burnt umber acrylic paint
- Mustard yellow acrylic paint
- Cinnamon acrylic paint
- Black acrylic paint
- Detail brush
- Permanent black marker
- Pencil
- Glue/water solution
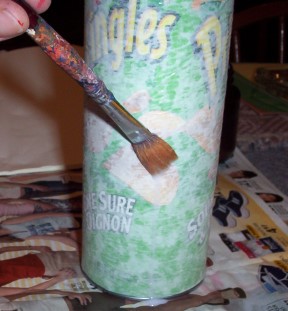
Not only is this project easy and fun to make, but it’s also a great way to recycle and repurpose an old Pringles can.
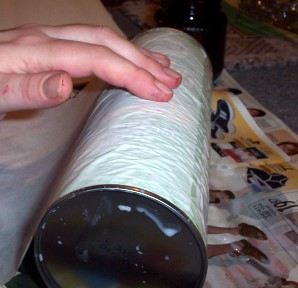
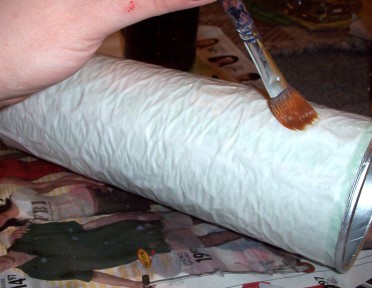
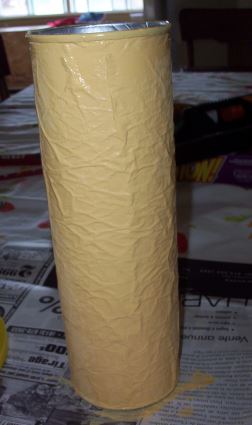
To start, mix together some glue and water to create a solution. Use a brush to apply the solution to the outside of the Pringles can, then layer tissue paper on top until the can is fully covered. Allow the tissue paper to dry completely.
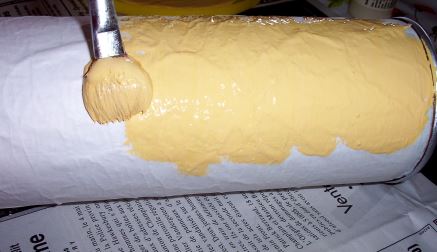
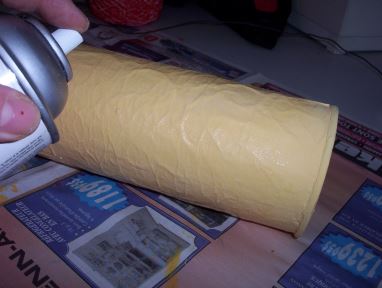
Next, use a brush to apply two coats of light yellow acrylic paint to the can. Once the paint is dry, use a finishing spray to give the can a smooth and shiny finish.
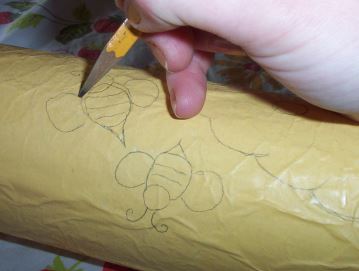
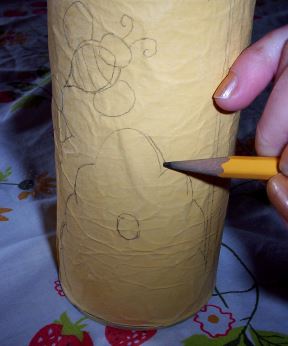
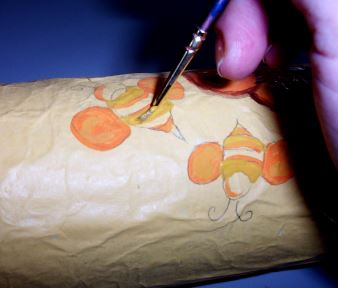
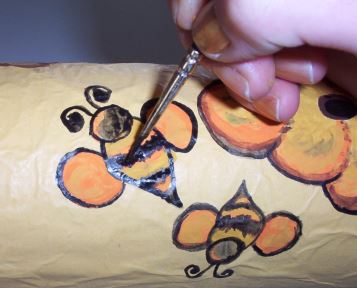
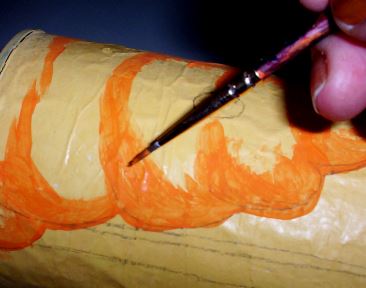
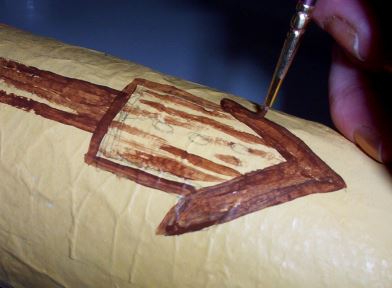
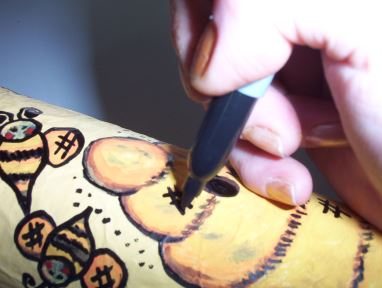
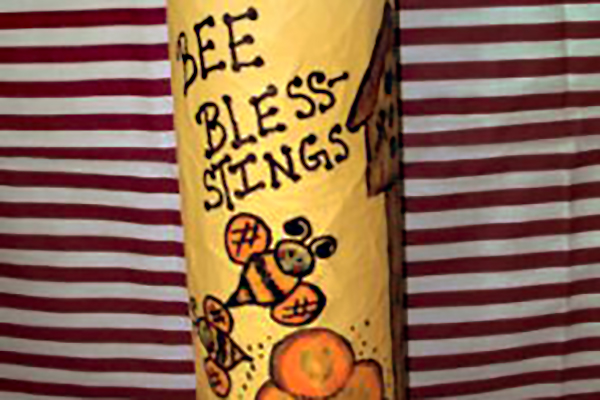
Now it’s time to add the bee, hive, and birdhouse details. Use a pencil to trace the pattern onto the can, then use orange acrylic paint to fill in the outer area of the hive and the wings and stripes on the bees. Outline the birdhouse and post in burnt umber paint, and use burnt umber to add an outline to the hive and a few brushstrokes to the next inner layer of the hive.
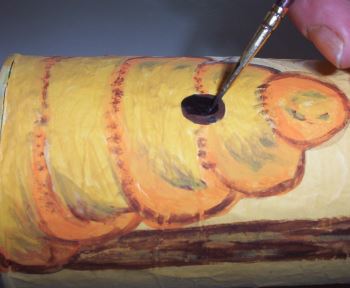
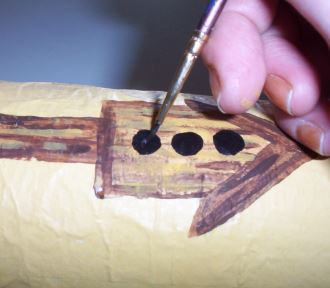
Fill in the hive and add stripes to the bees with mustard yellow paint, and use cinnamon and mustard yellow paint to create a wood-like texture on the post and birdhouse. Fill in the remaining holes for the hive and birdhouse with black acrylic paint, and use a detail brush and black paint to add the final stripes on the bees and the outline of the hive, birdhouse, and post.
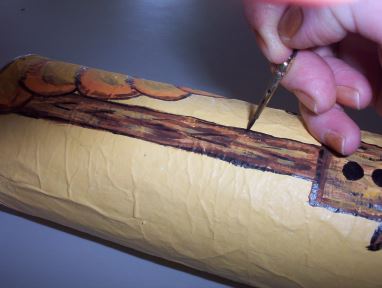
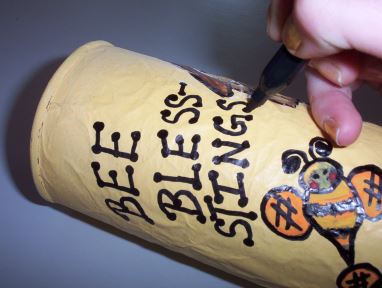
Finish off the “Bee-themed Pringles Can” with a coat of finishing spray and allow it to dry. Use a permanent black marker to write the words “Bee Bless-Stings” along the side of the can, and add some black dots around the hive and “#” scratches for added detail.
With your “Bee-themed Pringles Can” complete, it’s time to put it to use! Fill it up with small trinkets or treats and use it to add some fun and whimsy to your home. The charming bee, hive, and birdhouse details make it a unique and eye-catching piece that is sure to bring a smile to anyone’s face.
So don’t wait any longer – grab your supplies and start crafting your very own “Bee-themed Pringles Can”! It’s a fun and easy project that is sure to BEE a buzz-worthy addition to your home décor. Happy crafting!”